Every photographer has their own editing style with lighting, colours, and effects that they love. However, editing photos can be very time-consuming. The solution? Lightroom Presets. In this blog, I will discuss why using presets is a smart move.
What are presets?
Presets are essentially filters, a quick start for editing your photos. They are pre-defined settings designed to speed up and simplify the photo editing process. They contain a series of adjustments to exposure, colour, and effects that give a certain look or style to a photo. By saving these edits, you create your own preset and can then apply the vibe you want with just one click.
What is Lightroom?
Adobe Lightroom is one of the most used (and my favourite) photo editing applications. It is widely used for all levels of photography. Lightroom is available for both desktop and mobile, and with a Creative Cloud account, you can synchronize them so all your edited photos appear simultaneously on your phone or computer.
Recently, I switched to a mirrorless camera: Nikon Z6ii with Nikkor 24-120mm lens. The photos are saved on an SD card and I easily transfer them to my phone with a Lightning-to-SD card reader before saving them to my hard drive. This allows me to easily edit my photos on-the-go in the Lightroom Mobile App and even post high-quality photos during my trips.
Tip: view my travel kit essentials on my Amazon Storefront.
Why use Lightroom presets?
With presets, you can:
- Improve efficiency: Instead of manually editing each photo, you can speed up your workflow by using presets.
- Provide consistency: With presets, you can create a consistent look across your photos, which is especially useful when editing photos for a specific project or a certain style.
- Stimulate creativity: Presets serve as a starting point for further editing. You can customize and combine them to create unique looks that fit your vision and style as a photographer.
Time-saving
Manual photo editing can be quite time-consuming. With presets, you can achieve beautiful results with just one click. Many editing systems offer an easy way to create and apply your own presets to your photos. By saving time in the editing process, you have more time for taking photos!
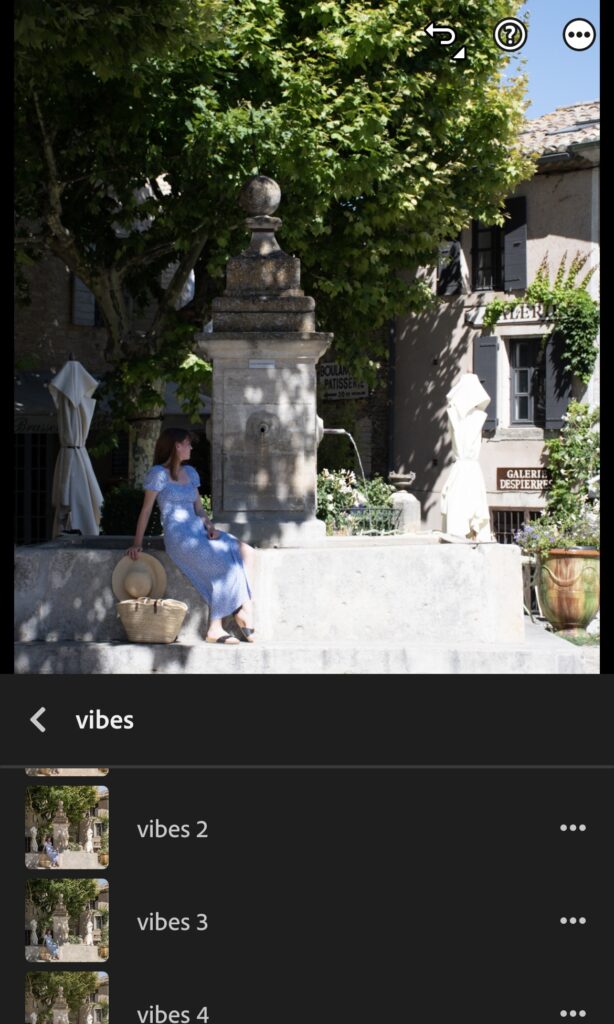
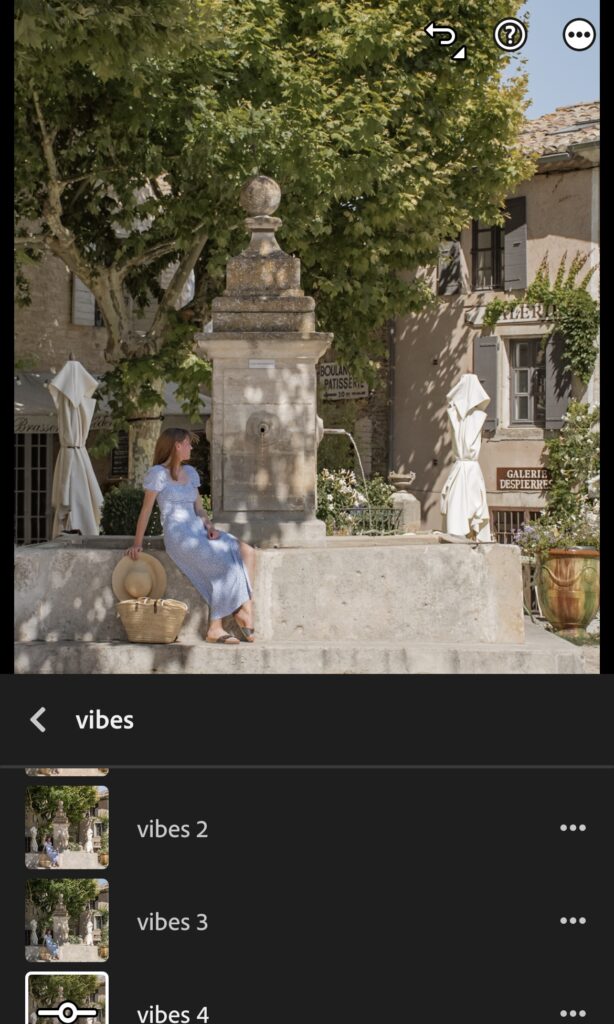
Below, an example of how I easily apply one of my Vibes Preset with just one click in Adobe Lightroom Mobile:
Consistent style
One of the greatest benefits of using presets is that they allow you to easily maintain a consistent style in your photography or e.g. Instagram feed. If you regularly post photos, you want your feed to look cohesive and it to tell a story. Presets allow you to define a specific look and apply it effortlessly throughout all your photos, resulting in a consistent appearance.

Creative freedom
While presets offer a quick and easy way to edit your photos, this doesn’t mean you’re stuck with one style. You can create different presets for different types of photos or seasons. This allows you to maintain creative freedom and experiment with different looks without sacrificing the consistency of your feed.
How to use Lightroom presets: Tips
Get the most out of your presets by applying the following tips. Keep experimenting and learning throughout your editing process!
- Firstly, shoot your photos in RAW: RAW photos contain unprocessed sensor data without loss of quality. This provides more control over editing exposure, white balance, and other aspects. This way, you can get the most out of your images, especially in challenging lighting conditions.
- Most importantly, learn from preset settings: Take the time to study the settings of the presets. By understanding what adjustments are being made, you can improve your knowledge of Lightroom (or your chosen editing program) and better understand how to edit manually.
Most commonly used settings
Light
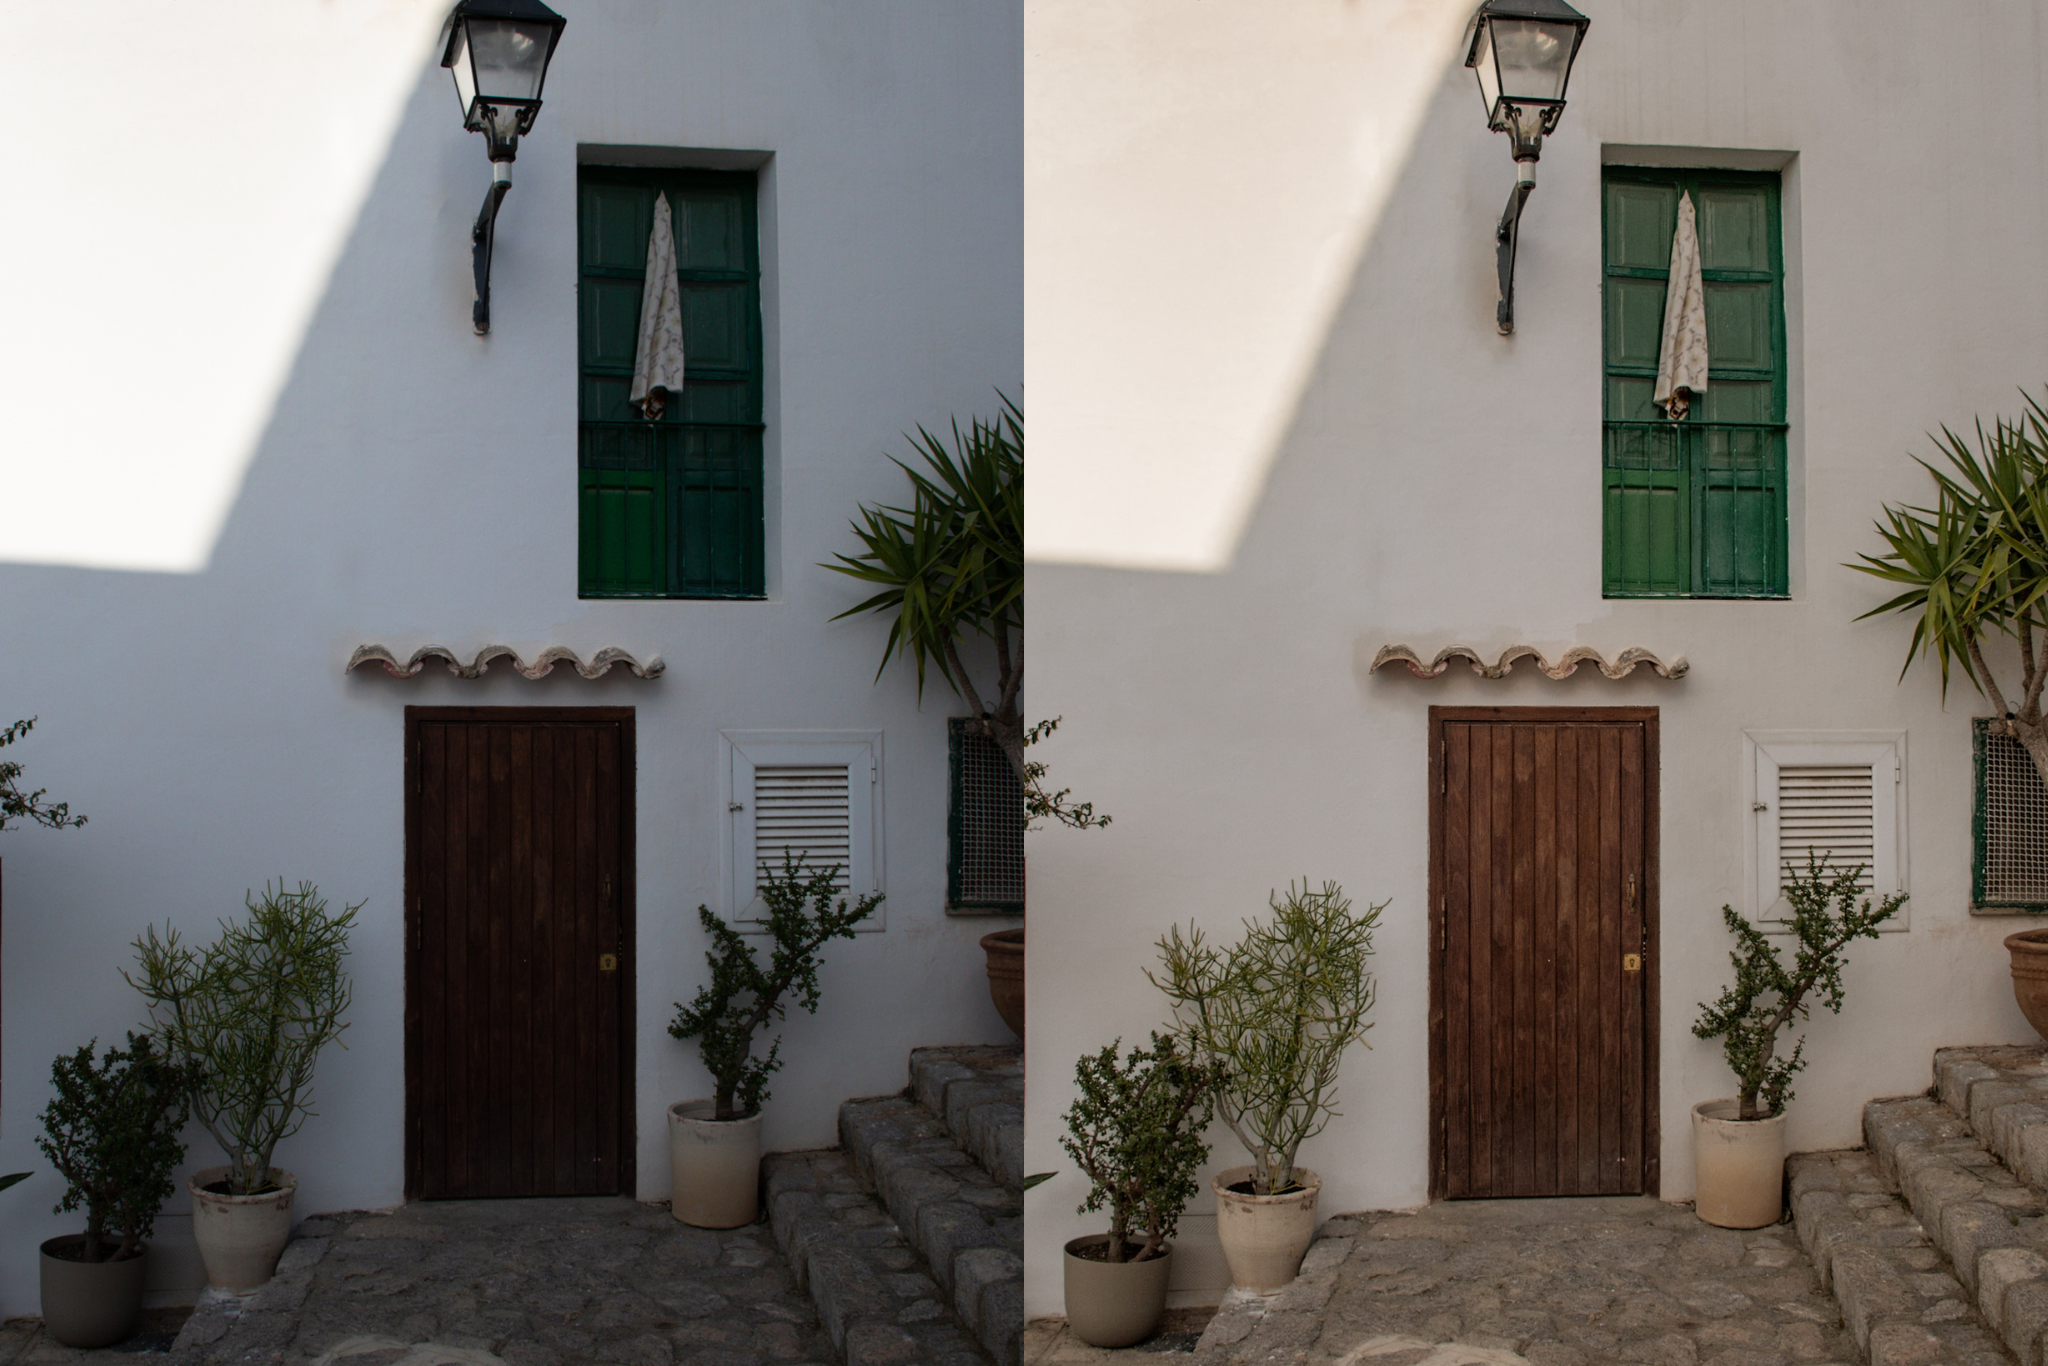
- Exposure controls the brightness of the photo, allowing dark areas to be brightened or overexposed parts reduced. Below an example of how increasing shadows can make a huge difference:
- Contrast affects the difference between light and dark parts of the image, adding depth and vibrancy.
- The colour tone curve is a graphical representation of the tone range of your image, offering precise control over highlights, shadows, and midtones. Below an example without colour tone curve adjustments. Secondly, tone curve adjustments have been made. Finally, an example with tone curve + colour curve adjustments is shown to give it a vintage look.

Colour
- Colour saturation controls the intensity of colour, with higher values for more vibrant colour and lower values for a more subdued colour display.
- White balance corrects the colour tone of the image. The human eye automatically adjusts to different types of light, which a camera does not (in the same way). By adjusting the white balance, you can more accurately match the colours in the photo to the colours you would see with the naked eye. This can be done by adjusting the following variables, with an example below without vs. with white balance adjustment:
- Temperature controls the colour temperature of the light. Lower temperatures create a cooler, bluer effect, while higher temperatures produce warmer tones.
- Tint affects the green-magenta balance of the image. A positive value increases magenta, while a negative value adds more green.

- Colour gradients provide the ability to apply colour adjustments to the shadows, midtones, or highlights of a photo. Below, you can see the difference without and with colour gradient:
- HSL (Hue, Saturation, and Luminosity) provides the ability to adjust individual primary and secondary colours in terms of hue, colour saturation, and brightness. Helpful if, for example, you only want to adjust the sky (blue).
Effects & Detail
- Sharpness improves the definition of details in the photo.
- Noise reduction reduces unwanted graininess, especially in photos taken in low light.
- Dehaze reduces the haze or fog that can sometimes occur in photos, especially in landscape photos. It increases contrast and improves the definition of details, making the image brighter and sharper.
- Vignette creates a dark, soft edge around the photo, directing attention to the center of the image. This can add an artistic effect and strengthen the composition.
Some of my go-to adjustments
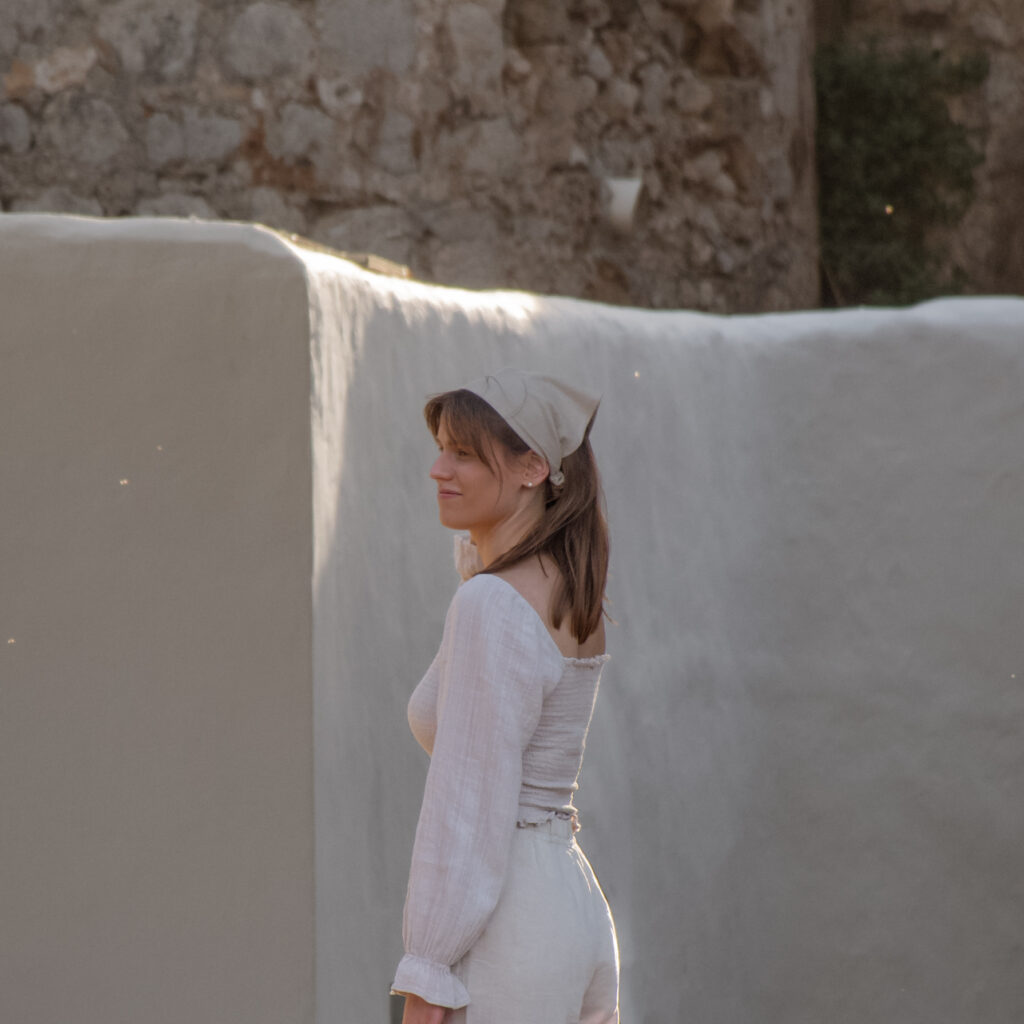
I personally use a lot of warm tones in my presets, because I perceive the actual scenes this way and try to bring back the same feeling with my edits.
- Increase shadows and black tones to make details in the dark more visible.
- Decrease highlights and white tones to eliminate any overexposure and make bright parts more visible.
- Increase temperature to make the photo warmer.
- Decrease clarity to give the photo a “dreamy” look.
- Remove haze to mask any overexposure and give the photo more detail.
- Slightly increase sharpness for better quality.
Enhance the quality of your photos
Creating presets doesn’t mean that the entire colour palette needs to be adjusted and the end result is far from the original photo. You can also correct exposure, accentuate details, or reduce noise to improve the quality of the photo. These adjustments may seem small at first glance, but they make a big difference in the end result!
Presets as a starting point
While presets are a good starting point, adjusting them is essential to make them perfect for each unique photo. Making small adjustments is almost always necessary. Play with exposure, contrast, temperature, and other parameters to achieve the desired effect. After applying a preset, continue with manual adjustments to refine the details. Small tweaks can make a big difference!
Beware of over-editing
Once you start editing and creating presets, you can sometimes go overboard. Compare your edit in between to continuously see the difference between before and after. Be subtle and keep the natural look of your photos in mind.
In addition, retouch carefully. If you retouch, such as removing clutter on the street or smoothing skin, do so carefully and avoid excessive use to prevent an unrealistic effect.
Apply local adjustments
Editing doesn’t have to be just about global aspects. Use layers and masks to apply adjustments to specific parts of the photo, giving you more control over the end result.
Local editing can be done in Lightroom using the following tools:
- Automatic masking: Make accurate selections by automatically detecting subjects or sky and making adjustments there.
- Brush: Manually select parts of the photo and make specific adjustments.
- Graduated filter: Make adjustments that gradually fade over a selected area.
- Radial filter: Make adjustments within a circular or elliptical area. This can be useful for adding a vignette effect around a subject or highlighting a certain part of the photo.
- Colour: Make adjustments based on a chosen colour from the photo.
- Lighting: Make adjustments based on a chosen brightness from the photo.
Below is an example where I brightened the sky based on automatic masking and coloured the water blue based on the brush. Yes, this is an Instagram vs. reality example but this was one of the few days when the water wasn’t blue here 🙂
Experiment with different presets
Don’t be afraid to experiment with different presets on the same photo. Sometimes a subtle change can alter the “vibe” of a photo.
Conclusion
In short, using presets can be a game-changer for your editing process. They help you maintain a consistent style, save time, provide creative freedom, and improve the overall quality of your photos. So, what are you waiting for? Start exploring the world of presets!